As8D (Message Wall | contribs) (Initial release of Grid tables guide. Wiki Editing Guide.) Tag: Visual edit |
(No difference)
|
Revision as of 18:15, 23 April 2019
| This guide is part of Wiki Editing Guide, at Intermediate difficulty. |
Guide
Grid tables are a great way to condense large amounts of items into a nice visual format. Previously, long lists of items took up a lot of space on the user's screen, which made it hard to get an overview. Grid tables puts items into tiles that wrap into a dynamic grid fitting various screen resolutions, as well as incorporating the ability to check items off using the same system that Checklist tables introduced - and if needed, you can display an amount of a given item.
Using grid tables is particularly relevant for the following types of articles:
- Itempedias
- Lists of drops / loot
- Vendor items
You can find examples of Grid tables used in the following articles: Monster Drops, Guttermouth Rewards and Construct.
Making a Grid table
Step 1
Open up Source Editor mode for the article, and write the following piece of text in the source code where you want the Grid table to appear.
<div class="grid-table">
The above piece of text has a special meaning, and is written in the markup language HTML. It is the start of your Grid table.
Step 2
After starting your Grid table, paste the below piece of text as many times as you want tiles in your Grid table.
{{GridItem|Checklist item id = |Quantity text = |Article name = |Image=}}
The above piece of text is using the GridItem template, which makes a tile appear in the Grid table. None of the fields for the template are set yet, but we will cover this in step 5.
Step 3
When you have all the items you need, end the Grid table by writing the following text into the article's source code.
</div>
Click Apply changes to see how your Grid table looks like so far.
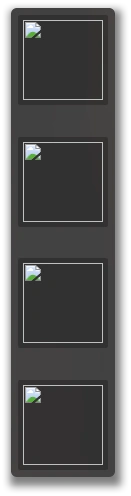
The above image is an example of a blank grid table in edit mode.
Step 4
A blank grid table isn't very helpful in itself. It needs information to display. Before we add information to the Grid table, you need to know how to find the information we will add in step 5.
We will need to know where to find the Article name and Image, which we will use in the next step of this guide.
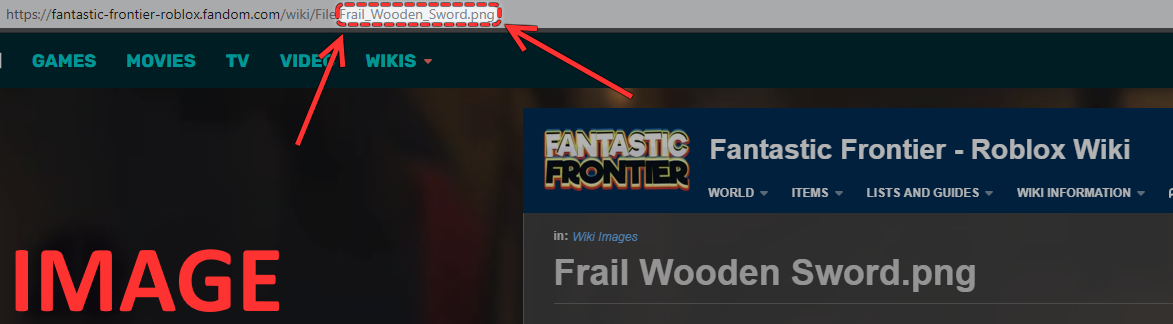
On any article, you can find the Article name as shown below. This is the text in your URL bar after the last slash (/).

On any image, you can find the file name of the image as shown below. This is the text in your URL bar after File:.
We now know how to find the information we need to fill out the Grid table.
Step 5
Now that you have the tiles ready and know how to find the values for Article name and Image, you can double-click one of the tiles to edit its fields, as shown below.
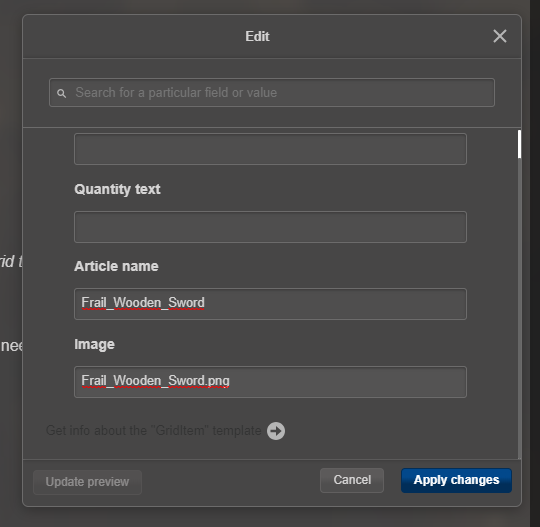
Setting the above fields has this result.
The value of each field needs to be exactly as shown in the URL bar of the article and image you are using for the grid tile.
Congratulations, you have now made a basic Grid table with usable information!
Adding amounts or captions to items in Grid tables
In some cases, you want to add quantities or arbitary text to grid tiles, as seen in the previous example Guttermouth Rewards. You are not limited to only numbers, as the field to set an amount/caption is just a text field.
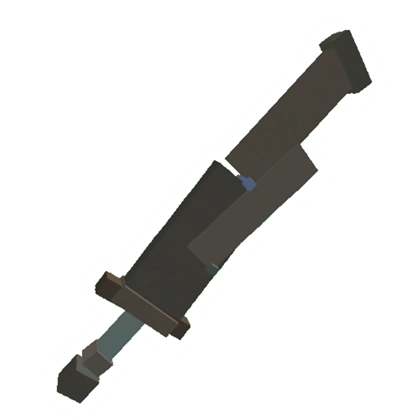
From the previous example in this guide, we can tell readers that a collection of items includes 5 to 10 Frail Wooden Swords by filling out the Quantity text field of the grid tile as shown below.

In edit mode, you cannot see a preview of the Quantity text. The quantity text only shows when you are viewing the article.
For grid tables with a long Quantity text / caption, using the large-scale mode for Grid tables is recommended to avoid truncating text. Simply replace the beginning HTML text of your Grid table with the below HTML text to make tiles in your Grid table appear large.
<div class="grid-table show-titles">
The show-titles is a CSS class that affects all grid tiles in the Grid table, which gives the below result when used.

Enabling checklist support for Grid tables
To allow users to track progress on collections of items, Grid tables have checklist support. And enabling checklists can be done quite easily! An example of a Grid table that uses the checklist feature is the Monster Drops article.
Step 1
When we start, we need to decide on what the checklist name will be. All checklists have an unique name that identifies that checklist from other checklists, so that multiple checklists don't interfere with each other.
When deciding on a checklist name, please make sure that it:
- Is lowercase
- Does not contain spaces or other whitespace characters
- Only uses latin characters (a-z, A-Z) and/or digits (0-9)
- Is relevant to the article it is being used with
For the Monster Drops article, the checklist name is monsterdrops.
Add the following 2 CSS classes to the grid-table opening HTML tag, where mydemochecklist is the name you decided for your checklist.
- table-checklist
- table-checklist-id-mydemochecklist
Doing so will make the start of your Grid table look like this:
<div class="grid-table table-checklist table-checklist-id-mydemochecklist">
Step 2
Now we want to make sure that each item in the Grid table can be identified for the checklist to save and load them properly.
For each grid tile, double-click it and edit the Checklist item id field to a value that you decide.
The same rules apply to the Checklist item id field as with deciding a checklist name.
After doing this, save your changes and verify that the checklist and grid table behaves as expected. Using the checklist will save when you leave the page and return later, and allows you to use silhouette mode on items that you haven't checked off in the checklist yet.
You've now learned about Grid tables and its capabilities to better improve the presentation of large amounts of information on articles.