No edit summary |
Tag: Visual edit |
||
| (21 intermediate revisions by 11 users not shown) | |||
| Line 1: | Line 1: | ||
| − | |||
==Summary== |
==Summary== |
||
| − | {{ |
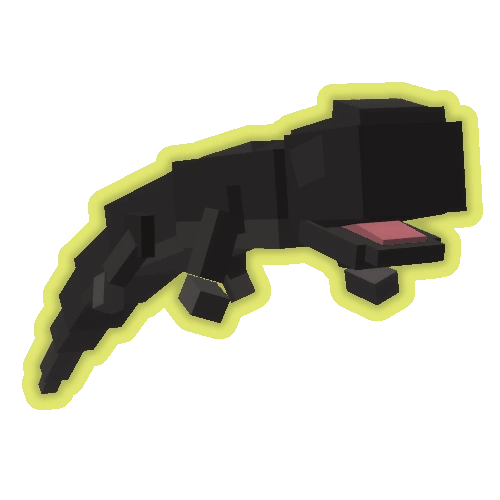
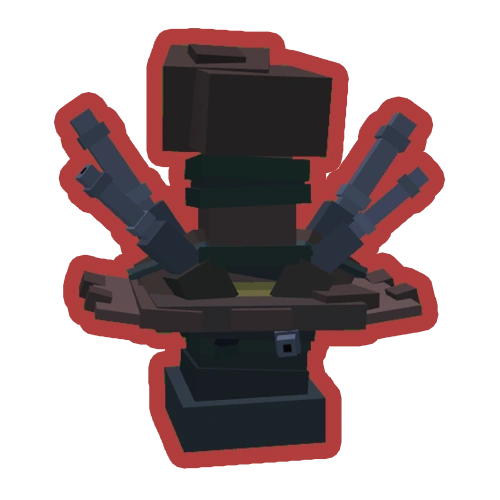
+ | {{Monster_Infobox_V2_Sketchfab|title1 = The Lost|image1 = The Lost.png|sketchfab_link=https://sketchfab.com/3d-models/lost-53e46fbeb67746aebd3d0c803fcdd770 |
| + | |location(s) = The Lost (Area)|behavior = Hostile|collectibles__materials = |damage = 950|hp = 65,000|materials = Light Marble}} |
||
*Alias: Phantom Knight, The Hollowed, Ghostly Onyx Knight, The Lost Boss |
*Alias: Phantom Knight, The Hollowed, Ghostly Onyx Knight, The Lost Boss |
||
| − | '''The Lost''', also known as The Lost Boss, can be encountered by the players after entering the [[Hidden Key]] door in [[The Grand Hall]]. Upon entering the door, the user will be taken to [[The Lost (Map Area)|The Lost]], a small battleground with multiple torches and a wall at the end of the room, enabling players to leave The Lost. |
+ | '''The Lost''', also known as The Lost Boss, can be encountered by the players after entering the [[Hidden Key]] door in [[The Grand Hall]]. Upon entering the door, the user will be taken to [[The Lost (Map Area)|The Lost]], a small battleground with multiple torches and a wall at the end of the room, enabling players to leave The Lost. '''The Lost''' appears to be a variant of the [[Corrupted Onyx Knight]] enemy, wielding a rapier similar to the [[Corrupted Rapier]] and wearing the [[Corrupted Onyx Set|Corrupted Onyx Set.]] The Lost's head is unique to him, adorned with [[Antlers]] and a skull-like face with an expression similar to that of the [[Ghost Mask]], with glowing red eyes. |
| − | After killing The Lost, the players can acquire the [https://fantastic-frontier-roblox.wikia.com/wiki/Light_Marble Light Marble] upon its death. In addition, a treasure chest will appear near the exit of The Lost, rewarding the players with a random item that can be obtained in the Nightmare and/or the Frontier |
+ | After killing The Lost, the players can acquire the [https://fantastic-frontier-roblox.wikia.com/wiki/Light_Marble Light Marble] upon its death. In addition, a treasure chest will appear near the exit of The Lost, rewarding the players with a random item that can be obtained in the Nightmare and/or the Frontier. |
=== Attacks === |
=== Attacks === |
||
| Line 17: | Line 17: | ||
=== Drop Rates === |
=== Drop Rates === |
||
| − | The drop rates of every single collectible that can be acquired from |
+ | The drop rates of every single collectible that can be acquired from The Lost. Any claims of "missing items" that The Lost could drop will be cast aside as <u>false information</u>. |
| + | *100% chance for [[Light Marble]] |
||
| − | *Light Marble x1 | 100% |
||
| − | |||
| ⚫ | |||
| − | The drop rates of every single collectible that can be acquired from the The Lost. Any claims of "missing items" that the Lost could drop will be cast aside as <u>false information</u>. |
||
| − | *Light Marble x1 | 100% |
||
=== Strategy === |
=== Strategy === |
||
| − | While it is possible to attack The Lost from elevated spots or get it stuck on the torches, it is relatively easy to deal with face-to-face, as The Lost and its minions are slower than a [[Corrupted Onyx Knight]] in their attacks and movement. With enough |
+ | While it is possible to attack The Lost from elevated spots or get it stuck on the torches, it is relatively easy to deal with face-to-face, as The Lost and its minions are slower than a [[Corrupted Onyx Knight]] in their attacks and movement. With enough walk speed, they can be easily outpaced and attacked from any range, and the player has more time to jump out of the way of any incoming attacks. |
It is important to keep a close eye on The Lost's minions at all times, as they can catch the player unaware and possibly leave them at a low enough health for the boss to finish off. The minions can easily be dealt with using any weapon, as they always take four hits to kill. |
It is important to keep a close eye on The Lost's minions at all times, as they can catch the player unaware and possibly leave them at a low enough health for the boss to finish off. The minions can easily be dealt with using any weapon, as they always take four hits to kill. |
||
| + | |||
| ⚫ | |||
| + | Below is a list of the rewards that can be obtained from defeating the Lost. Keep in mind that these are not considered drops from the Lost, and are instead rewards for completing its challenge. Exact chances can be found here: https://pastebin.com/dUfLpkCY |
||
| + | |||
| + | <div class="grid-table">{{GridItem|Checklist item id = |Quantity text = | Article name = Bag_of_Gems|Image=Bag_of_Gems.png}} |
||
| + | {{GridItem|Checklist item id = |Quantity text = | Article name = Bedrock Set#Helmet|Image=BedrockHelmet.png}} |
||
| + | {{GridItem|Checklist item id = |Quantity text = | Article name = Bedrock Set#Platebody|Image=BedrockPlatebody.png}} |
||
| + | {{GridItem|Checklist item id = |Quantity text = | Article name = Bedrock Set#Platelegs|Image=BedrockPlatelegs.png}} |
||
| + | {{GridItem|Checklist item id = |Quantity text = | Article name = Black Antlers|Image=BlackAntlers.png}} |
||
| + | {{GridItem|Checklist item id = |Quantity text = Egg| Article name = Salamander#Black|Image=BlackSalamander.png}} |
||
| + | {{GridItem|Checklist item id = |Quantity text = 330| Article name = Bullets|Image=Bullets.png}} |
||
| + | {{GridItem|Checklist item id = |Quantity text = | Article name = Century Cube|Image=CenturyCube.png}} |
||
| + | {{GridItem|Checklist item id = |Quantity text = | Article name = Clever Cube|Image=CleverCube.png}} |
||
| + | {{GridItem|Checklist item id = |Quantity text = | Article name = Clock|Image=Clock-0.png}} |
||
| + | {{GridItem|Checklist item id = |Quantity text = | Article name = Criminal's Tallhat|Image=Criminal'sTallhat.png}} |
||
| + | {{GridItem|Checklist item id = |Quantity text = | Article name = Fire Spellbound Mage Set#Hood|Image=FireHood.png}} |
||
| + | {{GridItem|Checklist item id = |Quantity text = | Article name = Fire Spellbound Mage Set#Top|Image=FireSpellboundMageTop.png}} |
||
| + | {{GridItem|Checklist item id = |Quantity text = | Article name = Fire Spellbound Mage Set#Skirt|Image=FireSpellboundMageSkirt.png}} |
||
| + | {{GridItem|Checklist item id = |Quantity text = | Article name = Gold Antlers|Image=GoldAntlers.png}} |
||
| + | {{GridItem|Checklist item id = |Quantity text = | Article name = Kitchen Cube|Image=KitchenCube.png}} |
||
| + | {{GridItem|Checklist item id = |Quantity text = | Article name = Maskhat|Image=Maskhat.png}} |
||
| + | {{GridItem|Checklist item id = |Quantity text = | Article name = Nightmare Boots|Image=NightmareBoots.png}} |
||
| + | {{GridItem|Checklist item id = |Quantity text = | Article name = Nightmare Prowler Set#Hat|Image=NightmareProwlerHat.png}} |
||
| + | {{GridItem|Checklist item id = |Quantity text = | Article name = Nightmare Prowler Set#Torso|Image=NightmareProwlerTorso.png}} |
||
| + | {{GridItem|Checklist item id = |Quantity text = | Article name = Nightmare Prowler Set#Legs|Image=NightmareProwlerLeggings.png}} |
||
| + | {{GridItem|Checklist item id = |Quantity text = | Article name = Otherworld Boots|Image=OtherworldBoots.png}} |
||
| + | {{GridItem|Checklist item id = |Quantity text = | Article name = Pantry Leech Set#Torso|Image=PLT.png}} |
||
| + | {{GridItem|Checklist item id = |Quantity text = | Article name = Pantry Leech Set#Platelegs|Image=PLL.png}} |
||
| + | {{GridItem|Checklist item id = |Quantity text = | Article name = Propaganda Head|Image=PropagandaHead.png}} |
||
| + | {{GridItem|Checklist item id = |Quantity text = | Article name = Pureblood Dagger|Image=Pureblood Dagger.png}} |
||
| + | {{GridItem|Checklist item id = |Quantity text = | Article name = Rising Dark Set#Mask|Image=RisingDarkMask.png}} |
||
| + | {{GridItem|Checklist item id = |Quantity text = | Article name = Rising Dark Set#Robe Top|Image=RisingDarkMageRobeTop.png}} |
||
| + | {{GridItem|Checklist item id = |Quantity text = | Article name = Rising Dark Set#Robe Bottoms|Image=RisingDarkMageRobeBottoms.png}} |
||
| + | {{GridItem|Checklist item id = |Quantity text = | Article name = Tri-Blade Shifter|Image=Tri-Blade.png}} |
||
| + | {{GridItem|Checklist item id = |Quantity text = | Article name = Wicked Junk Spellbook|Image=JunkSpellbook.png}}</div> |
||
| + | |||
=== Trivia === |
=== Trivia === |
||
*Whenever The Lost attacks, it will make low-pitched sounds of a [[Dark Ghost]]'s laugh. |
*Whenever The Lost attacks, it will make low-pitched sounds of a [[Dark Ghost]]'s laugh. |
||
*During the development of the Ratboy's Nightmare Update, its placeholder name was titled 'PhantomKnight.' |
*During the development of the Ratboy's Nightmare Update, its placeholder name was titled 'PhantomKnight.' |
||
| + | *Originally, the Lost would have the same amount of health no matter how many players are fighting it. This was changed in the Nightmare Boss Update, where its health was set to scale with the number of players present. |
||
| + | *It is possible for players to bypass the scaling hp by dealing damage to the Lost before other players join in. |
||
[[Category:Ratboy's Nightmare Update]] |
[[Category:Ratboy's Nightmare Update]] |
||
[[Category:Hostile Mobs]] |
[[Category:Hostile Mobs]] |
||
Revision as of 20:31, 30 July 2020
Summary
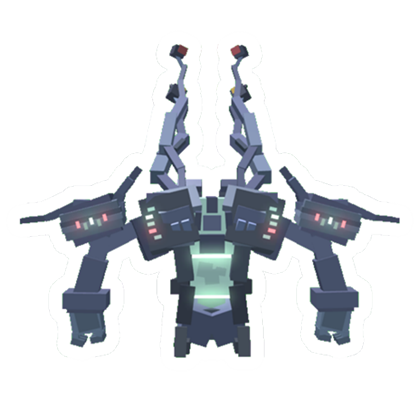
- Alias: Phantom Knight, The Hollowed, Ghostly Onyx Knight, The Lost Boss
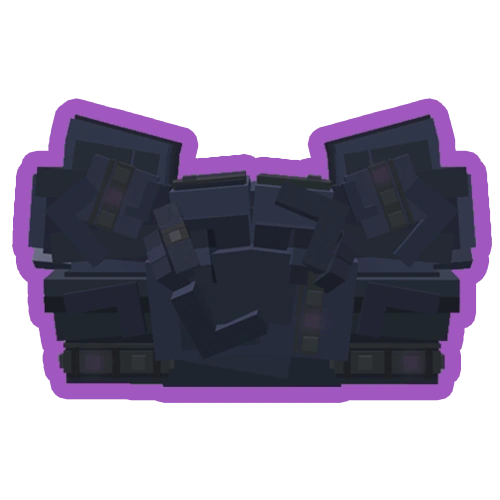
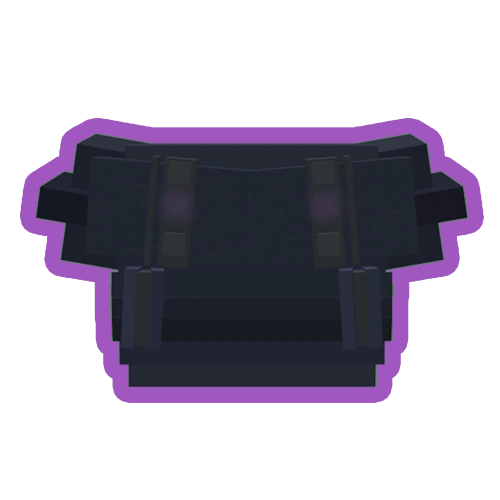
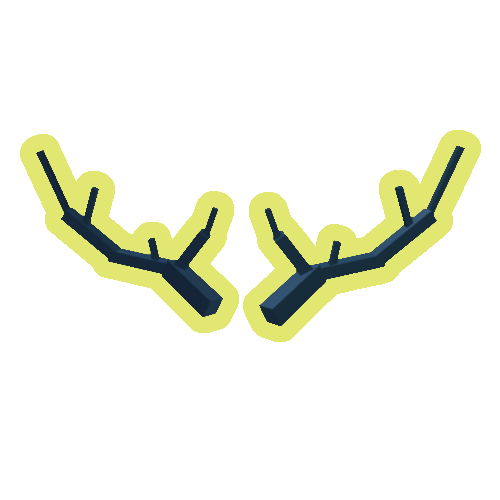
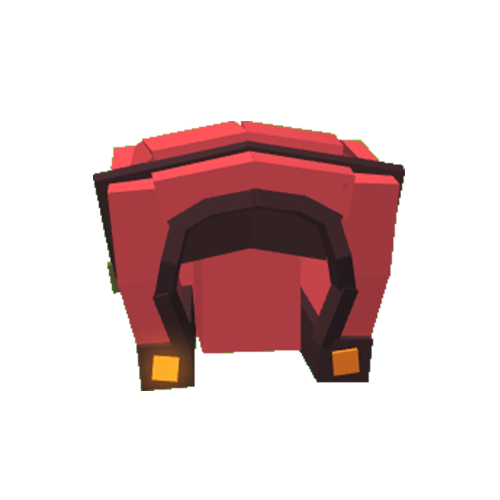
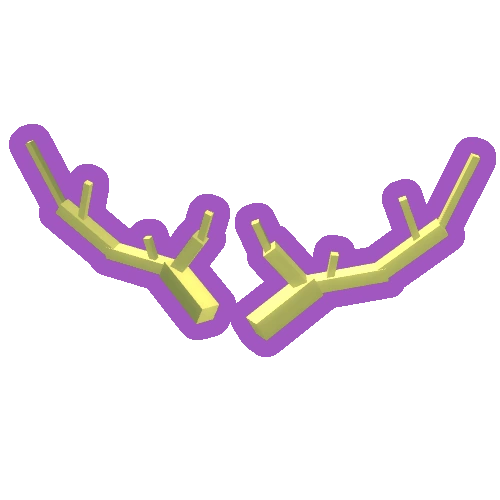
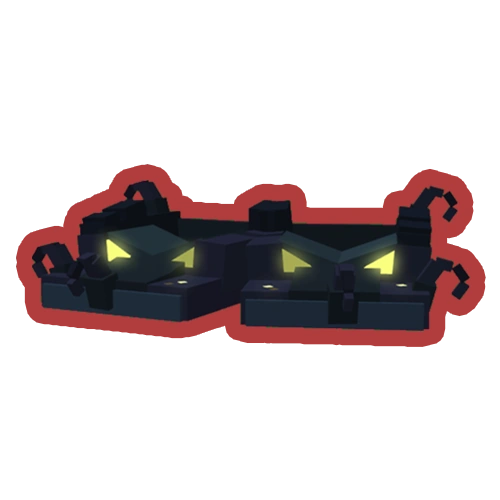
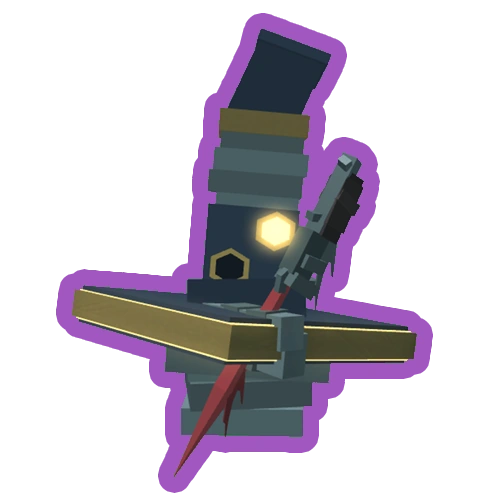
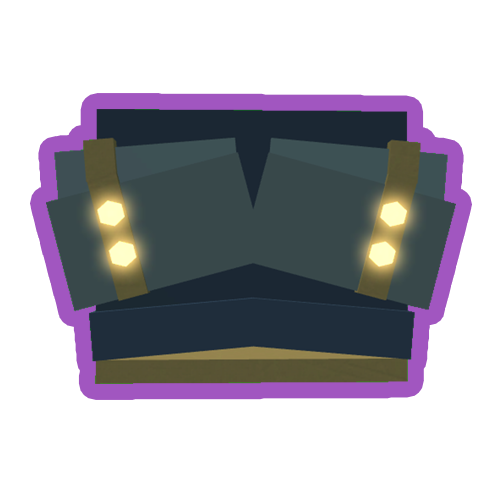
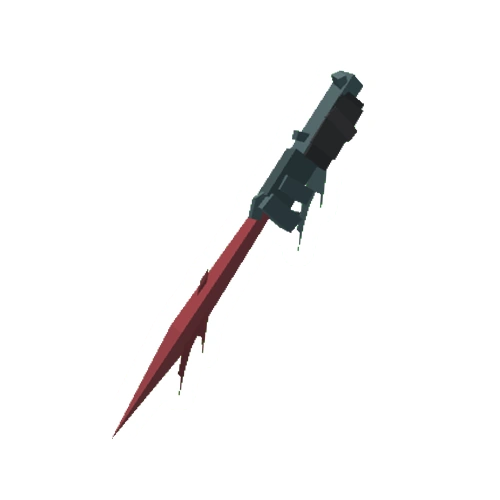
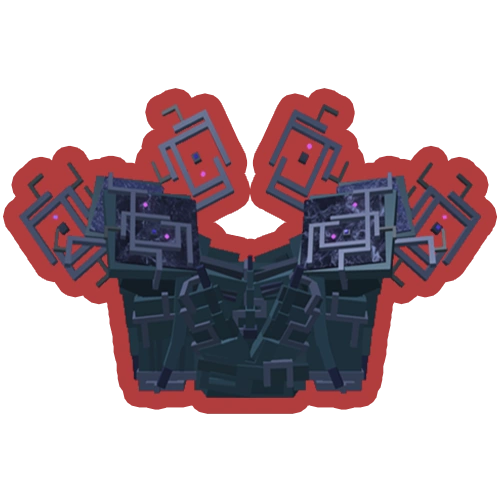
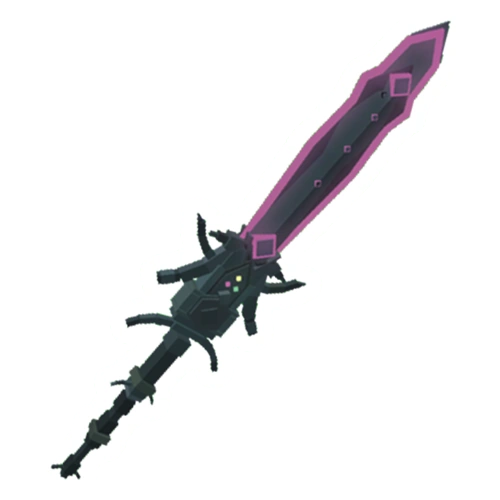
The Lost, also known as The Lost Boss, can be encountered by the players after entering the Hidden Key door in The Grand Hall. Upon entering the door, the user will be taken to The Lost, a small battleground with multiple torches and a wall at the end of the room, enabling players to leave The Lost. The Lost appears to be a variant of the Corrupted Onyx Knight enemy, wielding a rapier similar to the Corrupted Rapier and wearing the Corrupted Onyx Set. The Lost's head is unique to him, adorned with Antlers and a skull-like face with an expression similar to that of the Ghost Mask, with glowing red eyes.
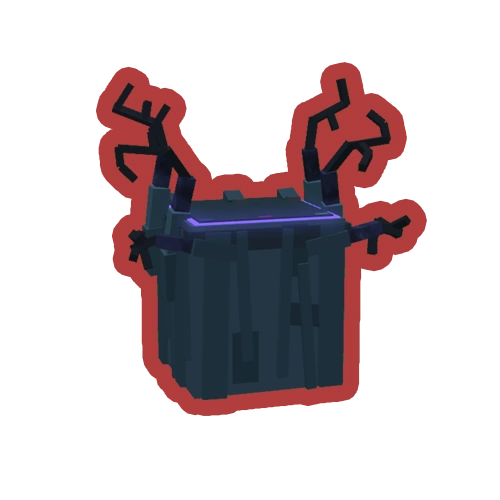
After killing The Lost, the players can acquire the Light Marble upon its death. In addition, a treasure chest will appear near the exit of The Lost, rewarding the players with a random item that can be obtained in the Nightmare and/or the Frontier.
Attacks
There are six attacks that The Lost can perform:
- Jab - Jabs the players with its rapier.
- Slash - Slashes the players with its rapier.
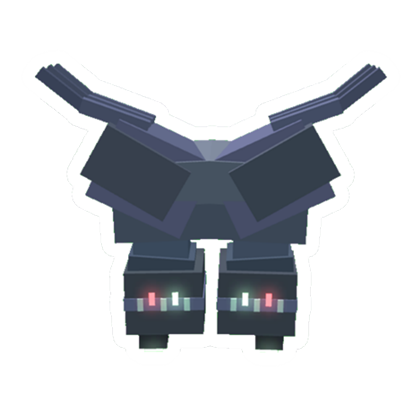
- Summon Phantoms -The Lost will summon two Phantoms into the battleground. If a clone is defeated, The Lost will quickly summon another for assistance within a certain time interval.
- Teleporting Spin - The Lost will spin around in a circular manner before teleporting to the player's current location, slowing them down temporarily and leaving them vulnerable to the attack immediately performed afterward (which can rarely be a second Teleporting Spin).
- Threefold Advance - Similar to the Great Scimitar's special ability, The Lost will perform a continuous melee technique where the rapier will go in three different directions as the boss swings its rapier around.
- Ultra Charge - Similar to the Ultrablade's special ability, The Lost will charge towards the players with its rapier in an attempt to hit them as it continues to follow the player's footsteps.
Drop Rates
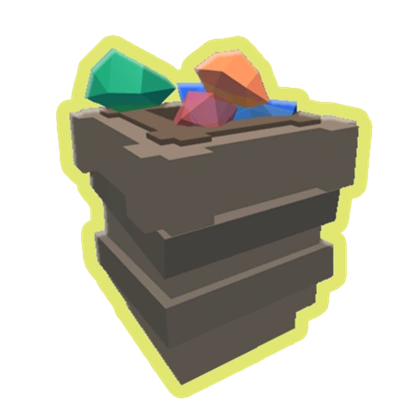
The drop rates of every single collectible that can be acquired from The Lost. Any claims of "missing items" that The Lost could drop will be cast aside as false information.
- 100% chance for Light Marble
Strategy
While it is possible to attack The Lost from elevated spots or get it stuck on the torches, it is relatively easy to deal with face-to-face, as The Lost and its minions are slower than a Corrupted Onyx Knight in their attacks and movement. With enough walk speed, they can be easily outpaced and attacked from any range, and the player has more time to jump out of the way of any incoming attacks.
It is important to keep a close eye on The Lost's minions at all times, as they can catch the player unaware and possibly leave them at a low enough health for the boss to finish off. The minions can easily be dealt with using any weapon, as they always take four hits to kill.
Rewards
Below is a list of the rewards that can be obtained from defeating the Lost. Keep in mind that these are not considered drops from the Lost, and are instead rewards for completing its challenge. Exact chances can be found here: https://pastebin.com/dUfLpkCY


Trivia
- Whenever The Lost attacks, it will make low-pitched sounds of a Dark Ghost's laugh.
- During the development of the Ratboy's Nightmare Update, its placeholder name was titled 'PhantomKnight.'
- Originally, the Lost would have the same amount of health no matter how many players are fighting it. This was changed in the Nightmare Boss Update, where its health was set to scale with the number of players present.
- It is possible for players to bypass the scaling hp by dealing damage to the Lost before other players join in.