(Text edits on Cell 3) Tag: Visual edit |
m (missing link(s)) |
||
| (47 intermediate revisions by 18 users not shown) | |||
| Line 1: | Line 1: | ||
| − | == Guttermouth Keys == |
||
| + | == Overview == |
||
| − | Guttermouth Keys are obtained by defeating monsters within the Nightmare. These enemies have a very low chance of dropping the Guttermouth Key. When a user has obtained a Guttermouth Key, they are able to choose one of three Guttermouth Cells. These keys have a single use before they are destroyed upon entering a Guttermouth Cell. A suggested way into receiving these keys is to fight enemies in the Grand Hall, or inside the Red Button Door as these areas have high monster spawn rates. |
||
| + | '''Guttermouth Rewards''' refers to the Guttermouth Cells that can be found in certain places of [[The Nightmare]]. Similar to the [[Otherworld Tower]] dungeon, the Guttermouth Cell Challenges are mini-dungeon instances that players can enter with the usage of a [[Guttermouth Key]] to fight against various monsters in order to acquire rewards, both familiar and unfamiliar items. |
||
| − | == Guttermouth |
+ | === Guttermouth Key === |
| + | [[Guttermouth Key]]s are rare drops that can be obtained from slaying monsters in the Nightmare. Once the player gets their hands on a Guttermouth Key, they can use the key to enter one of the four available Guttermouth Cell Challenges. These keys can only be used once and will be destroyed and disappear from the player's inventories after being used to unlock a Guttermouth Cell. |
||
| − | There are three Guttermouth Cells. Two of which require you to have obtained the Mansion key, and to be currently possessing it within your inventory to access. These two doors are located to the Left, and to the Right of the Vault Door in the Grand Hall. The Guttermouth Cell in which you do not need a Mansion key to access, is located right before entering the Library for the first time. Before entering, head to your left which seems to be an empty hallway. To the right is actually a large hole in the wall, with stairs leading to an attic in the first room you come across. At the top of this attic is the Third Guttermouth Cell. |
||
| − | == Guttermouth |
+ | === Guttermouth Cells === |
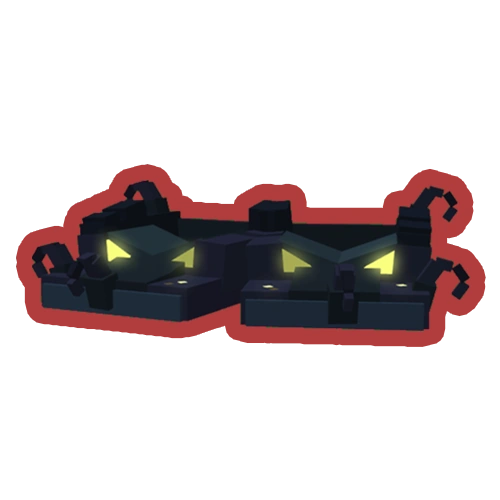
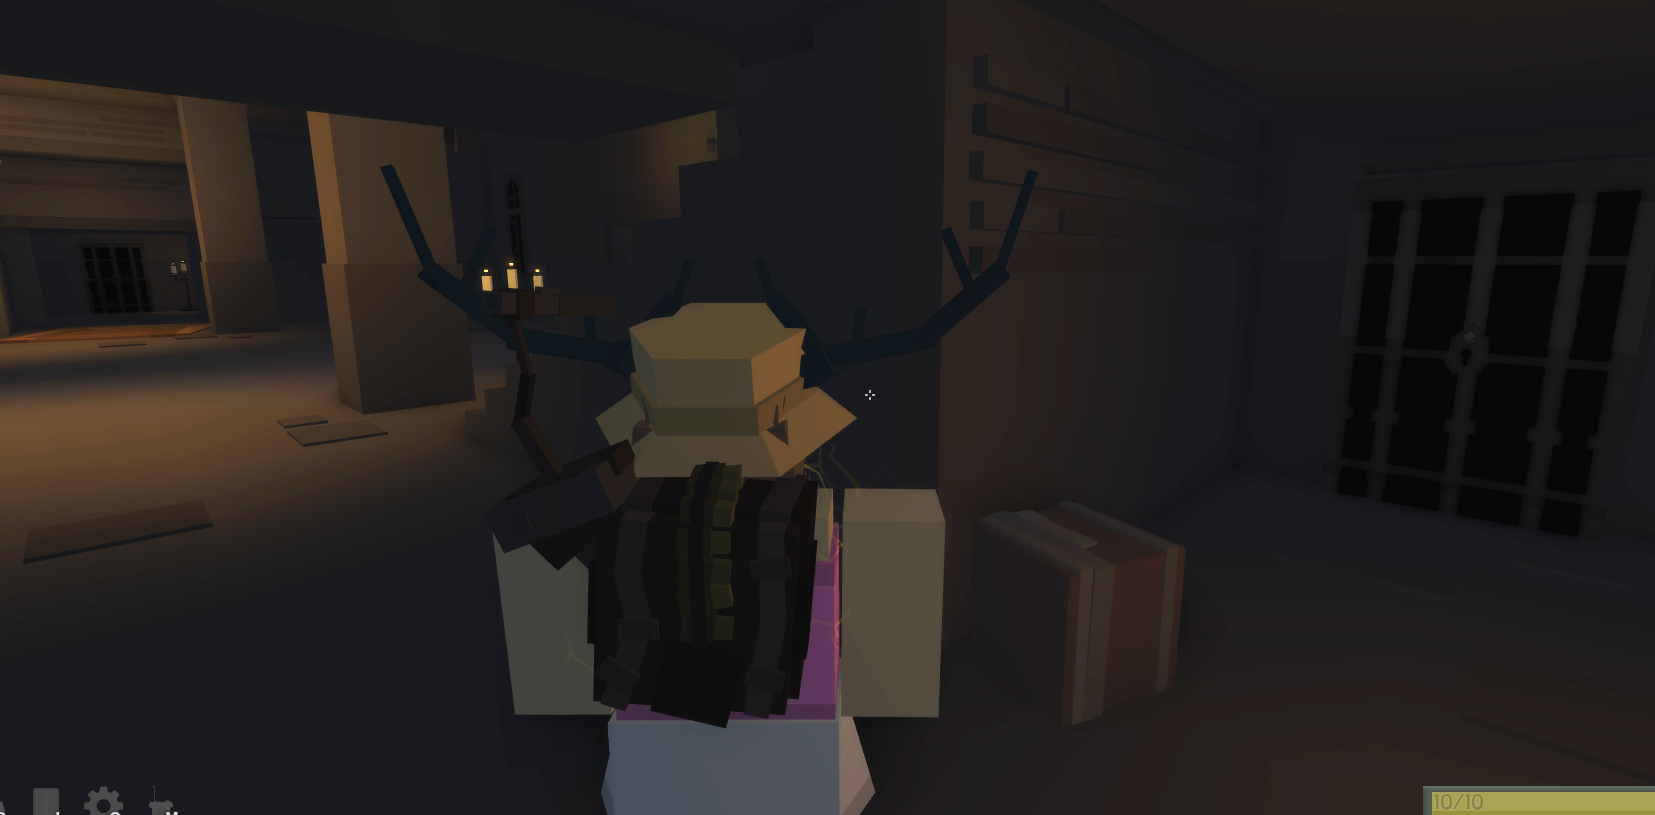
| + | [[File:666666666.png|thumb|220x220px|left|A Guttermouth Cell in The Grand Hall.]]There are three Guttermouth Cells and one Guttermouth key-locked door in the Nightmare. Two of which requires the players to obtain a [[Mansion Key]] beforehand. The Mansion Key must be in the players' inventories in order to find two of the three Guttermouth Cells. These cells are located to the left and right of The Vault's entrance in [[The Grand Hall]], under a short series of stairways leading into different rooms, both locked and unlocked. The other Guttermouth Cell outside of The Grand Hall can be found to the right before entering 'The Library' for the first time in [[The Mansion]]. Before entering 'The Library', the players will need to head to their left which appears to be an empty hallway. Down the hallway, the players need to take a right to find an obscured hallway on the sides of the wall. As the players travel through a series of rooms, they can find a bedroom with stairsteps to direct the players to the second floor, leading into an attic with a Guttermouth Cell. |
||
| ⚫ | |||
| − | === |
+ | === Guttermouth Fights === |
| ⚫ | Each Guttermouth Cell provides a different scenario that players must go through in order to complete the Guttermouth Cell Challenges. Defeating the boss within and its minions/allies will reward the players with a treasure chest. Information pertaining the rewards can be found later on in this article. |
||
| − | Starting from the left of the Vault door, this first fight requires you to defeat two red lions whilst having to fight off a (Unknown name of enemy, the large bulky gray boy that fires lasers and uses a giants animations for some of his attacks). |
||
| − | === Cell 2 === |
+ | ==== Cell 1 & 2 ==== |
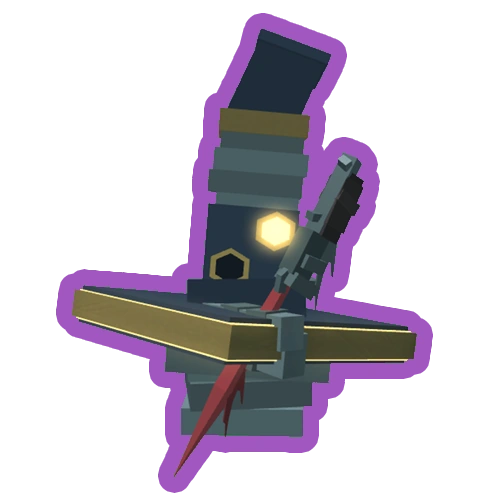
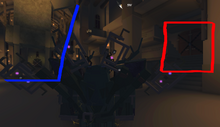
| + | [[File:12312312366666666666.png|thumb|162x162px|Arrows pointing the direction of where the Guttermouth Cells can be seen from The Vault's entrance.]]Going to the Guttermouth Cell to the left of The Vault's entrance in The Grand Hall will require the players to defeat two [[Red Wolf|Red Wolves]] whilst having to fight off an [[Industry Giant]] as the main threat of the challenge. Going to the Guttermouth Cell to the right of The Vault's entrance in The Grand Hall will require the players to fight against a pair of [[The Cricket|Crickets]] (Theatre boss), as well as a [[Nightmare Lantern]]. |
||
| − | Starting from the right of the Vault door, this second fight requires you to defeat two Nightmare Dragons as well as a Nightmare Lantern. This fight is the easiest of the three doors as you can attack the dragons from the distance whilst continuously moving to the left or the right to avoid their ranged attacks. |
||
| − | [[File:666666666.png|thumb|220x220px]] |
||
| ⚫ | |||
| − | If heading left down the hallway before you enter the Library, through the small hallway within the side of the wall, and lastly up the stairs. You will come across this third door. This is the most difficult fight of the three Guttermouth Cells. It requires you to fight two of the "Two-Eyed Monstrosity" and what appears to be a Super-charged Scarecrow. The Monstrosity's will be consistently fully-healed by the Scarecrow if their health drains even in the slightest. This makes it nearly impossible to defeat the Monstrosity's until the Super-charged scarecrow is defeated. The scarecrow runs at ridiculous speeds, and charges you at some points in the fight. When the scarecrows health reaches below 20%, his attacks become ever increasing and his movements even more difficult to avoid. |
||
| − | [[File:555555-0.png|centre|thumb|280x280px]] |
||
| − | === |
+ | ==== Cell 3 ==== |
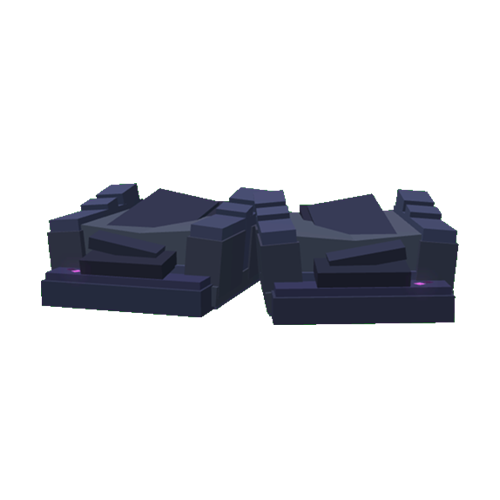
| + | [[File:555555-0.png|thumb|165x165px|left|The location of the obscured hallway in The Mansion.]]If the players decide to head left down the hallway before they enter 'The Library' in The Mansion, travel through a small obscured hallway within the side of a wall, and travel up the stairs in a two-floor bedroom, the players will come across the third Guttermouth Cell. This is considered one of the most difficult fights of the three Guttermouth Cells, requiring the players to fight against [[Two-Eyed Monstrosity|Two-Eyed Monstrosities]] and a [[Guttermouth Effigy]], the main threat of the cell challenge that needs to be the top priority in the kill-list while fighting against the mobs in The Lost, as its ridiculous speeds and healing ability can be annoying to the players. |
||
| − | This room is located behind the Rat Statue in the Grand Hall and to right. It has black chains on it like the other Hidden Key doors. In the Hidden Key boss room, it can possibly be considered as a Guttermouth Cell, due to the fact that the room has the exact same appearance and chest reward. The difference however, is that the Hidden Key has infinite use, whereas the Guttermouth Key has 1 use only, making the Hidden Key (A rare drop from the [https://fantastic-frontier-roblox.wikia.com/wiki/Democan Democan]) very useful for grinding. It is noted that the Hidden Key boss room has the same rewards. |
||
| + | |||
| − | [[File:56656565.png|centre|thumb|220x220px]] |
||
| + | ==== The Lost's Boss Fight ==== |
||
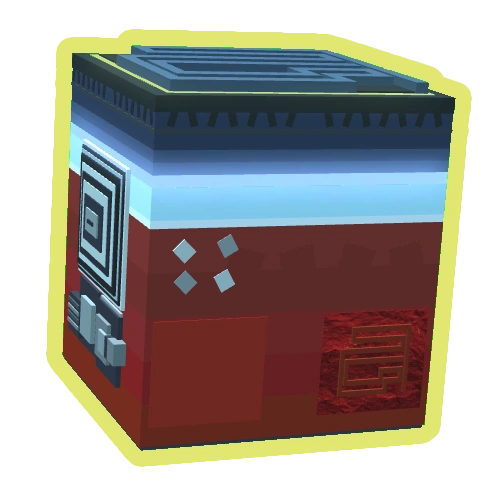
| + | [[File:56656565.png|thumb|220x220px|The location of The Lost's boss fight room.]]The room can be found near the giant Ratboy Statue in The Grand Hall, located to the right/left depending on the player's position. It has black chains on the door, like other key-locked doors seen in the Nightmare. Once the players enter the door, they will face against The Lost's boss, sharing the same exact title of the map area. Players will fend off against the phantom, nearly-invisible minions of [[The Lost (Monster)|The Lost]], as well as the boss itself. Please keep in mind The Lost boss has a different reward table and chances for each reward than the three Guttermouth Cells accessed via Guttermouth Key, the chances for The Lost boss can be found on its own page. |
||
== Guttermouth Rewards == |
== Guttermouth Rewards == |
||
| − | Below are some of the rewards |
+ | Below are some of the rewards the player can receive from completing any of the Guttermouth Cell Challenges offered in the Nightmare after the players achieved victory over the monsters they had defeated in The Lost. If you would like to see more information about percentage chances, please use the public list created for your own leisure! --> https://pastebin.com/j2C9sdWq |
| + | |||
| ⚫ | |||
| + | General rewards simply mean that the rewards can be obtained from any Guttermouth Cell Challenges. Here is a list of rewards that players can receive from the treasure chest after completing a Guttermouth Cell Challenge: |
||
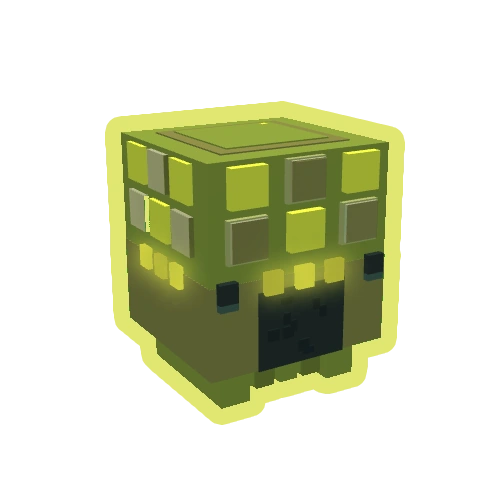
| + | <div class="grid-table">{{GridItem|Checklist item id = |Quantity text = | Article name = Bag_of_Gems|Image=Bag_of_Gems.png}} |
||
| − | (Post in the comments the rewards you have received to have them added, or feel free to edit them in.) |
||
| + | {{GridItem|Checklist item id = |Quantity text = | Article name = Bedrock_Set|Image=BedrockHelmet.png}} |
||
| − | * Bag of Gems |
||
| + | {{GridItem|Checklist item id = |Quantity text = | Article name = Bedrock_Set|Image=BedrockPlatebody.png}} |
||
| − | * Bedrock Helmet |
||
| + | {{GridItem|Checklist item id = |Quantity text = | Article name = Bedrock_Set|Image=BedrockPlatelegs.png}} |
||
| − | * Bedrock Platebody |
||
| + | {{GridItem|Checklist item id = |Quantity text = 3 | Article name = Big_Chicken|Image=BigChicken.png}} |
||
| − | * Bedrock Legs |
||
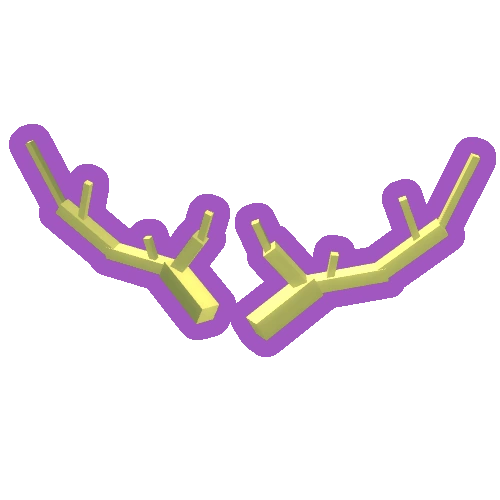
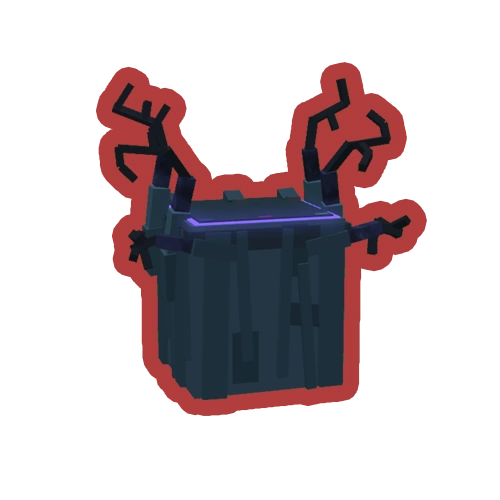
| + | {{GridItem|Checklist item id = |Quantity text = | Article name = Black_Antlers|Image=BlackAntlers.png}} |
||
| − | * Big Chicken |
||
| + | {{GridItem|Checklist item id = |Quantity text = 200/300/330| Article name = Bullets|Image=Bullets.png}} |
||
| − | * Black Antlers |
||
| + | {{GridItem|Checklist item id = |Quantity text = | Article name = Century_Cube|Image=CenturyCube.png}} |
||
| − | * Black Salamander Egg |
||
| + | {{GridItem|Checklist item id = |Quantity text = | Article name = Clever_Cube|Image=CleverCube.png}} |
||
| − | * Bullets (300-330) |
||
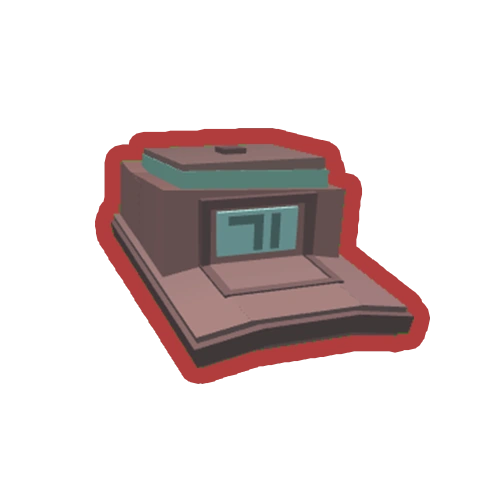
| + | {{GridItem|Checklist item id = |Quantity text = | Article name = Clock|Image=Clock-0.png}} |
||
| − | * Candy Crumbs (200) |
||
| + | {{GridItem|Checklist item id = |Quantity text = | Article name = Criminal's_Tallhat|Image=Criminal'sTallhat.png}} |
||
| − | * Century Cube |
||
| + | {{GridItem|Checklist item id = |Quantity text = | Article name = Ores|Image=Emerald.png}} |
||
| − | * Clever Cube |
||
| + | {{GridItem|Checklist item id = |Quantity text = | Article name = Fire_Spellbound_Mage_Set|Image=FireHood.png}} |
||
| − | * Clock |
||
| + | {{GridItem|Checklist item id = |Quantity text = | Article name = Fire_Spellbound_Mage_Set|Image=FireSpellboundMageTop.png}} |
||
| − | * Criminal's Tallhat |
||
| + | {{GridItem|Checklist item id = |Quantity text = | Article name = Fire_Spellbound_Mage_Set|Image=FireSpellboundMageSkirt.png}} |
||
| − | * Emerald |
||
| + | {{GridItem|Checklist item id = |Quantity text = | Article name = Green-Black_Jacket|Image=Green-BlackJacket.png}} |
||
| − | * Green-Black Jacket |
||
| + | {{GridItem|Checklist item id = |Quantity text = | Article name = Gold_Antlers|Image=GoldAntlers.png}} |
||
| − | * Gold Antlers |
||
| + | {{GridItem|Checklist item id = |Quantity text = | Article name = Guttermouth Set#Helmet|Image=GuttermouthHelmet.png}} |
||
| − | * Kitchen Cube |
||
| + | {{GridItem|Checklist item id = |Quantity text = | Article name = Guttermouth Set#Platebody|Image=GMPlatebody.png}} |
||
| − | * Maskhat |
||
| + | {{GridItem|Checklist item id = |Quantity text = | Article name = Guttermouth Set#Platelegs|Image=GMPlatelegs.png}} |
||
| − | * Nightmare Boots |
||
| + | {{GridItem|Checklist item id = |Quantity text = | Article name = Kitchen_Cube|Image=KitchenCube.png}} |
||
| − | * Nightmare Prowler Hat |
||
| + | {{GridItem|Checklist item id = |Quantity text = | Article name = Maskhat|Image=Maskhat.png}} |
||
| − | * Nightmare Prowler Torso |
||
| + | {{GridItem|Checklist item id = |Quantity text = | Article name = Nightmare_Boots|Image=NightmareBoots.png}} |
||
| − | * Nightmare Prowler Legs |
||
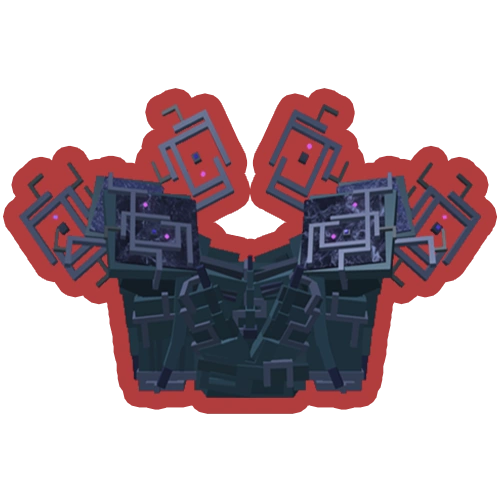
| + | {{GridItem|Checklist item id = |Quantity text = | Article name = Nightmare_Prowler_Set|Image=NightmareProwlerHat.png}} |
||
| − | * Nightmare Seed |
||
| + | {{GridItem|Checklist item id = |Quantity text = | Article name = Nightmare_Prowler_Set|Image=NightmareProwlerTorso.png}} |
||
| − | * Onyx Bar |
||
| + | {{GridItem|Checklist item id = |Quantity text = | Article name = Nightmare_Prowler_Set|Image=NightmareProwlerLeggings.png}} |
||
| − | * Otherworld Boots |
||
| + | {{GridItem|Checklist item id = |Quantity text = | Article name = Nightmare_Seed|Image=NightmareSeed.png}} |
||
| − | * Pantry Leech Helmet |
||
| + | {{GridItem|Checklist item id = |Quantity text = | Article name = Ores|Image=Onyx Bar.png}} |
||
| − | * Pantry Leech Chestplate |
||
| + | {{GridItem|Checklist item id = |Quantity text = | Article name = Otherworld_Boots|Image=OtherworldBoots.png}} |
||
| − | * Pantry Leech Platelegs |
||
| + | {{GridItem|Checklist item id = |Quantity text = | Article name = Pantry_Leech_Set|Image=PantryLeechTorso.png}} |
||
| − | * Pureblood Dagger |
||
| + | {{GridItem|Checklist item id = |Quantity text = | Article name = Pantry_Leech_Set|Image=PantryLeechLegs.png}} |
||
| − | * Red Yesterday Hat |
||
| + | {{GridItem|Checklist item id = |Quantity text = | Article name = Propaganda_Head|Image=PropagandaHead.png}} |
||
| − | * Rising Dark Mask |
||
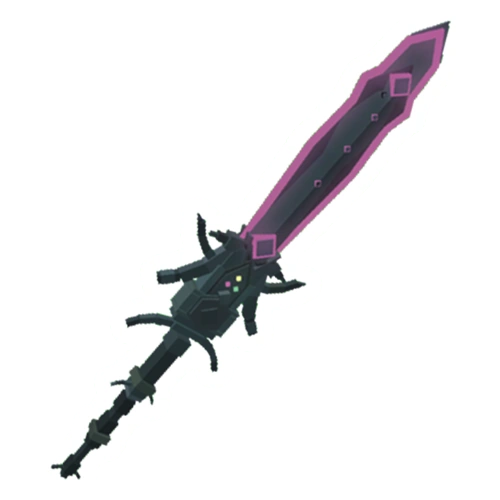
| + | {{GridItem|Checklist item id = |Quantity text = | Article name = Pureblood_Dagger|Image=Pureblood Dagger.png}} |
||
| − | * Rising Dark Robe Bottoms |
||
| + | {{GridItem|Checklist item id = |Quantity text = | Article name = Red_Yesterday_Hat|Image=RedYesterdayHat.png}} |
||
| − | * Rising Dark Robe Top |
||
| + | {{GridItem|Checklist item id = |Quantity text = | Article name = Rising_Dark_Set|Image=RisingDarkMask.png}} |
||
| − | * Spell Bound Fire Mage Hood |
||
| + | {{GridItem|Checklist item id = |Quantity text = | Article name = Rising_Dark_Set|Image=RisingDarkMageRobeTop.png}} |
||
| − | * Spell Bound Fire Mage Chest |
||
| + | {{GridItem|Checklist item id = |Quantity text = | Article name = Rising_Dark_Set|Image=RisingDarkMageRobeBottoms.png}} |
||
| − | * Spell Bound Fire Mage Legs |
||
| + | {{GridItem|Checklist item id = |Quantity text = Egg | Article name = Salamander#Black|Image=BlackSalamander.png}} |
||
| − | * Tri-Blade Shifter |
||
| + | {{GridItem|Checklist item id = |Quantity text = | Article name = Tri-Blade_Shifter|Image=Tri-Blade.png}} |
||
| − | * Wicked Junk Spellbook |
||
| + | {{GridItem|Checklist item id = |Quantity text = | Article name = Wicked_Junk_Spellbook|Image=JunkSpellbook.png}}</div> |
||
[[Category:Ratboy's Nightmare Update]] |
[[Category:Ratboy's Nightmare Update]] |
||
[[Category:Lists and Guides]] |
[[Category:Lists and Guides]] |
||
[[Category:Public]] |
[[Category:Public]] |
||
| − | [[Category:Cache pages]] |
||
Latest revision as of 00:30, 26 September 2023
Overview
Guttermouth Rewards refers to the Guttermouth Cells that can be found in certain places of The Nightmare. Similar to the Otherworld Tower dungeon, the Guttermouth Cell Challenges are mini-dungeon instances that players can enter with the usage of a Guttermouth Key to fight against various monsters in order to acquire rewards, both familiar and unfamiliar items.
Guttermouth Key
Guttermouth Keys are rare drops that can be obtained from slaying monsters in the Nightmare. Once the player gets their hands on a Guttermouth Key, they can use the key to enter one of the four available Guttermouth Cell Challenges. These keys can only be used once and will be destroyed and disappear from the player's inventories after being used to unlock a Guttermouth Cell.
Guttermouth Cells
A Guttermouth Cell in The Grand Hall.
There are three Guttermouth Cells and one Guttermouth key-locked door in the Nightmare. Two of which requires the players to obtain a Mansion Key beforehand. The Mansion Key must be in the players' inventories in order to find two of the three Guttermouth Cells. These cells are located to the left and right of The Vault's entrance in The Grand Hall, under a short series of stairways leading into different rooms, both locked and unlocked. The other Guttermouth Cell outside of The Grand Hall can be found to the right before entering 'The Library' for the first time in The Mansion. Before entering 'The Library', the players will need to head to their left which appears to be an empty hallway. Down the hallway, the players need to take a right to find an obscured hallway on the sides of the wall. As the players travel through a series of rooms, they can find a bedroom with stairsteps to direct the players to the second floor, leading into an attic with a Guttermouth Cell.
Guttermouth Fights
Each Guttermouth Cell provides a different scenario that players must go through in order to complete the Guttermouth Cell Challenges. Defeating the boss within and its minions/allies will reward the players with a treasure chest. Information pertaining the rewards can be found later on in this article.
Cell 1 & 2

Arrows pointing the direction of where the Guttermouth Cells can be seen from The Vault's entrance.
Going to the Guttermouth Cell to the left of The Vault's entrance in The Grand Hall will require the players to defeat two Red Wolves whilst having to fight off an Industry Giant as the main threat of the challenge. Going to the Guttermouth Cell to the right of The Vault's entrance in The Grand Hall will require the players to fight against a pair of Crickets (Theatre boss), as well as a Nightmare Lantern.
Cell 3

The location of the obscured hallway in The Mansion.
If the players decide to head left down the hallway before they enter 'The Library' in The Mansion, travel through a small obscured hallway within the side of a wall, and travel up the stairs in a two-floor bedroom, the players will come across the third Guttermouth Cell. This is considered one of the most difficult fights of the three Guttermouth Cells, requiring the players to fight against Two-Eyed Monstrosities and a Guttermouth Effigy, the main threat of the cell challenge that needs to be the top priority in the kill-list while fighting against the mobs in The Lost, as its ridiculous speeds and healing ability can be annoying to the players.
The Lost's Boss Fight

The location of The Lost's boss fight room.
The room can be found near the giant Ratboy Statue in The Grand Hall, located to the right/left depending on the player's position. It has black chains on the door, like other key-locked doors seen in the Nightmare. Once the players enter the door, they will face against The Lost's boss, sharing the same exact title of the map area. Players will fend off against the phantom, nearly-invisible minions of The Lost, as well as the boss itself. Please keep in mind The Lost boss has a different reward table and chances for each reward than the three Guttermouth Cells accessed via Guttermouth Key, the chances for The Lost boss can be found on its own page.
Guttermouth Rewards
Below are some of the rewards the player can receive from completing any of the Guttermouth Cell Challenges offered in the Nightmare after the players achieved victory over the monsters they had defeated in The Lost. If you would like to see more information about percentage chances, please use the public list created for your own leisure! --> https://pastebin.com/j2C9sdWq
General
General rewards simply mean that the rewards can be obtained from any Guttermouth Cell Challenges. Here is a list of rewards that players can receive from the treasure chest after completing a Guttermouth Cell Challenge: